


do you remember the times that we used to watch cartoons and we really enjoy them? do you love cartoons? in my opinion, cartoons will bring us back to our childhood the time when we were truly happy, by the way, do you like to learn how to create cartoons?
if you are like those who really like to learn so this blog belongs to you. In today’s guide, we will walk you through the basics of cartoon creation. We will cover everything from storyboarding to character design. By the end of this tutorial, you will be on your way to creating your very own cartoon masterpiece!

Table of Contents
What materials do you need to get started?
In order to create a cartoon, you will need a few basic materials. First, you will need some paper and pencils. You will also need a black marker or pen for outlining your drawings. Finally, you will need some colored pencils or crayons for adding color to your cartoon.
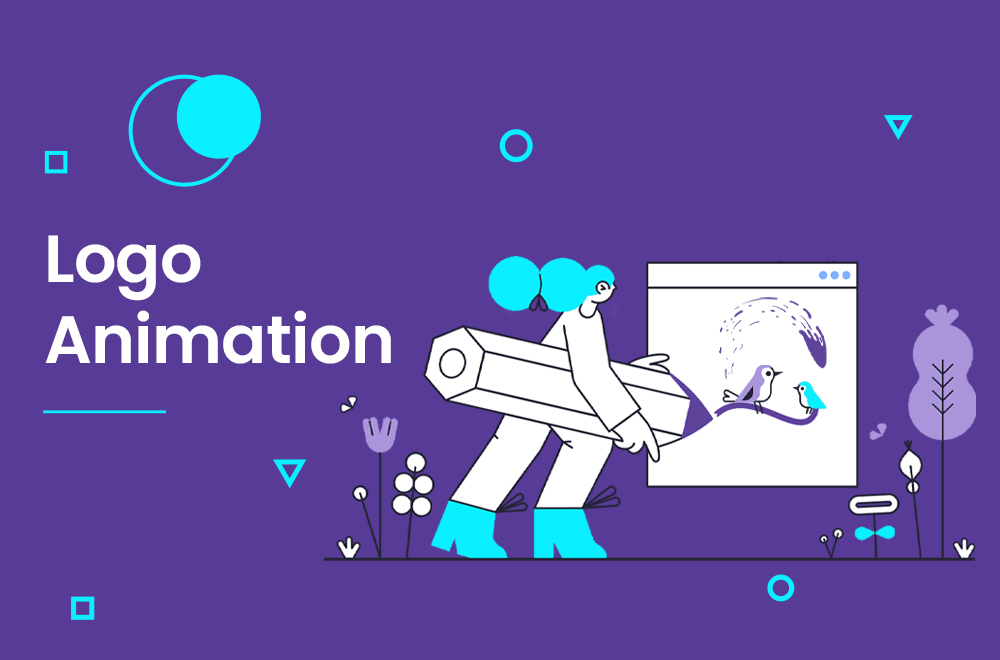
you may like : Should You Animate Your Logo : Pros And Cons
How to start creating your character?
The first step in creating your cartoon is to design your characters. Start by sketching out a few different ideas for your main character. Once you have a few sketches that you like, it’s time to start refining your design. Begin by adding details such as hair, clothes, and facial features. Once you are happy with your character’s design, it’s time to move on to the next step.

Drawing the body and facial features
Now that you have your character’s design finalized, it’s time to start drawing them. Begin by sketching out the basic shapes of the head, body, and limbs. Once you have the basic shapes down, you can start adding details such as eyes, nose, mouth, and hair. Remember to keep your character’s proportions in mind as you are drawing.
you may like : What Makes A Good Logo Animation?
Adding clothes and props
The next step is to add clothes and props to your character. This is where you can really start to bring your character to life. Think about what kind of clothing would fit your character’s personality. You can also add props such as bags, hats, or glasses.

Backgrounds and scenery
here we are in our last step in creating cartoons and that’s about adding backgrounds and scenery. This will help give your cartoon a sense of place. Start by sketching out a few simple backgrounds such as a bedroom, living room, or park. Once you have a few basic backgrounds, you can start adding details such as furniture, trees, and clouds.
Finishing up your cartoon
our last step is to put everything together when we have all of our characters, backgrounds, and props drawn. Begin by scanning or photographing your drawings. Next, use a computer program such as Photoshop or Gimp to color your cartoon. Finally, add any final touches such as text bubbles or sound effects.
How to Animate for Beginners
if you are a beginner and you want to learn here is where you can start :

Step 1: Plan Your Storyboard
Everything becomes beautiful and colorful with a story. To start anything, we need a story and a meaning. So, as the first step, I ask you not to even think about opening or working with the software. The first thing you should do is to think and see what is the story you want to narrate and how you want to narrate it, then move on to the rest of the work.
here we don’t need a Disney story all we need is to know what we are going to do and that it. it’s all about our first and somehow most important step so you need to know what exactly you want your character to do in the animation. That way, you can prepare all of your images ahead of stitching them together to create your moving sequence.

Step 2: Create Your Workspace
Open a new document in Photoshop and select Window > Timeline. This will enable the video timeline function at the bottom of your screen. From here, you’ll click on “Create Video Timeline” and each of your document’s layers will be split into a separate section so that you can animate each one individually.

Step 3: Build Your Framework
Set the timeline rate to 24 frames per second. This is standard for the animation industry, so it’s a good place to start as a beginner.
Create multiple layers and then duplicate these, dragging each layer to immediately follow the end of the previous layer’s frame. You’ll see these laid out in the timeline as a step-like visual.
Turn on the “Onion Skins” feature to preview the before and after frames for each layer. This will help you to see how everything will eventually line up in the sequence when it comes time to actually animate your images.

Step 4: Draw Your Static Images
Start by drawing your ball in your first layer. You can include guidelines if these help you to visualize the arc that your bouncing ball will take. Use the “Shape Layer” function to add this in and then draw your ball in the top corner, or position one.
Spacing is one of the most important elements to master when it comes to animation and this simple project will help you to understand this better. The slower you want your animation to move, the closer together the individual images will be.
You’ll also want to change the shape of your ball as it moves toward the middle of its journey. Think about how a ball would move in real life—it goes faster as it approaches the ground. So in your image, you’ll want to stretch out the oval shape to give it the appearance of faster movement as it approaches the bottom of your work-frame. You’ll then work on the opposite side of the bounce, moving from fast to slow movements as you create the final frames.

Step 5: Hit Playback
Complete all of your individual drawings, and hit play on your video timeline. From here, see your bouncing ball moving along across your screen. Congratulations, you just made your very first animation!
Popular Animation Software
Adobe Photoshop & Animate
Adobe Animate is a new and improved version of Adobe Flash Professional. The software lets you create interactive vector graphics and 2D animations for videos, ads, games, television, and more. You can animate characters, avatars, shapes, and other assets using timeline controls.
Features:
- Vector brushes with size, smoothness, pressure, and velocity settings.
- Intuitive timeline controls with advanced animation settings.
- Virtual camera feature that lets you add to pan, zoom, and other effects.
- Synchronize audio with your animations and create audio loops.
- Typekit integration gives you access to premium web fonts.
- Export in Flash, HTML5 Canvas, WebGL, SVG, and more.
Pros: Extensive export and sharing options to publish your animations in virtually any format for any platform.
Cons: Just like any other Adobe software, Animate has a steep learning curve, especially for beginners.
Canva
canva is a popular online design tool that has recently introduced a few basic animation features. It lets you download your graphic designs as a GIF or video by choosing one of the six animation styles available in the app.
Features:
- Thousands of editable templates in various categories.
- Millions of free and paid photos, icons, and other assets.
- Six different animation styles to choose from.
- Invite team members and share your brand elements.
- Organize your designs into folders.
- Download your animated designs in GIF and MP4 video formats.
Pros: Pay-per-use graphic assets. Good for adding basic animation to images.
Cons: No custom animation capabilities. Limited animation features in the free plan.
Blender
Blender is an open-source video editing software that lets you have total control over your animations. The tool offers advanced command line and programming features for rendering, modeling, and creating 3D animations. It works across different operating systems, so you can use it on Linux, Windows, and Mac.
Features:
- Powerful rendering, modeling, and sculpting tools.
- Advanced animation and rigging tools.
- Draw and edit in 3D mode.
- Video editing and VFX, including motion tracking, masking, and compositing.
- Powerful and realistic simulation tools.
- Extensive Python API for scripting and customization.
- The customizable user interface, window layout, and shortcuts.
Pros: It doesn’t cost anything to use Blender. Also, advanced animation and rendering tools make it fit for both beginners and expert users.
Cons: Blender has a very steep learning curve as it’s packed with so many features. Beginners will be overwhelmed and might need to spend hours on tutorials before getting it right.
I hope this information works for you as well and work for you cause it’s important but if you face any problem my collogue in temis marketing are here to help you and solve your problem.
logo animation
Logo animation is a short video that loops smoothly and shows the features of your business, product, or service. A logo animation will boost brand awareness and clicks on the items included in it. We can include catchy visuals, colors, text, and audio. We design a logo animation that will suit your business.
do you need a Logo animation service? Contact Us NOW!


