You can have a lot of fun designing flyers! The best part is that they are so easy to create. All you need to do is follow these steps. In no time, your flyer will be ready for distribution among the population who would love it or benefit from knowing more about what exactly goes on behind the scenes concerning their favorite businesses & organizations (like ourselves!). So let’s get started: first things first – pick out an attractive design template, etc.
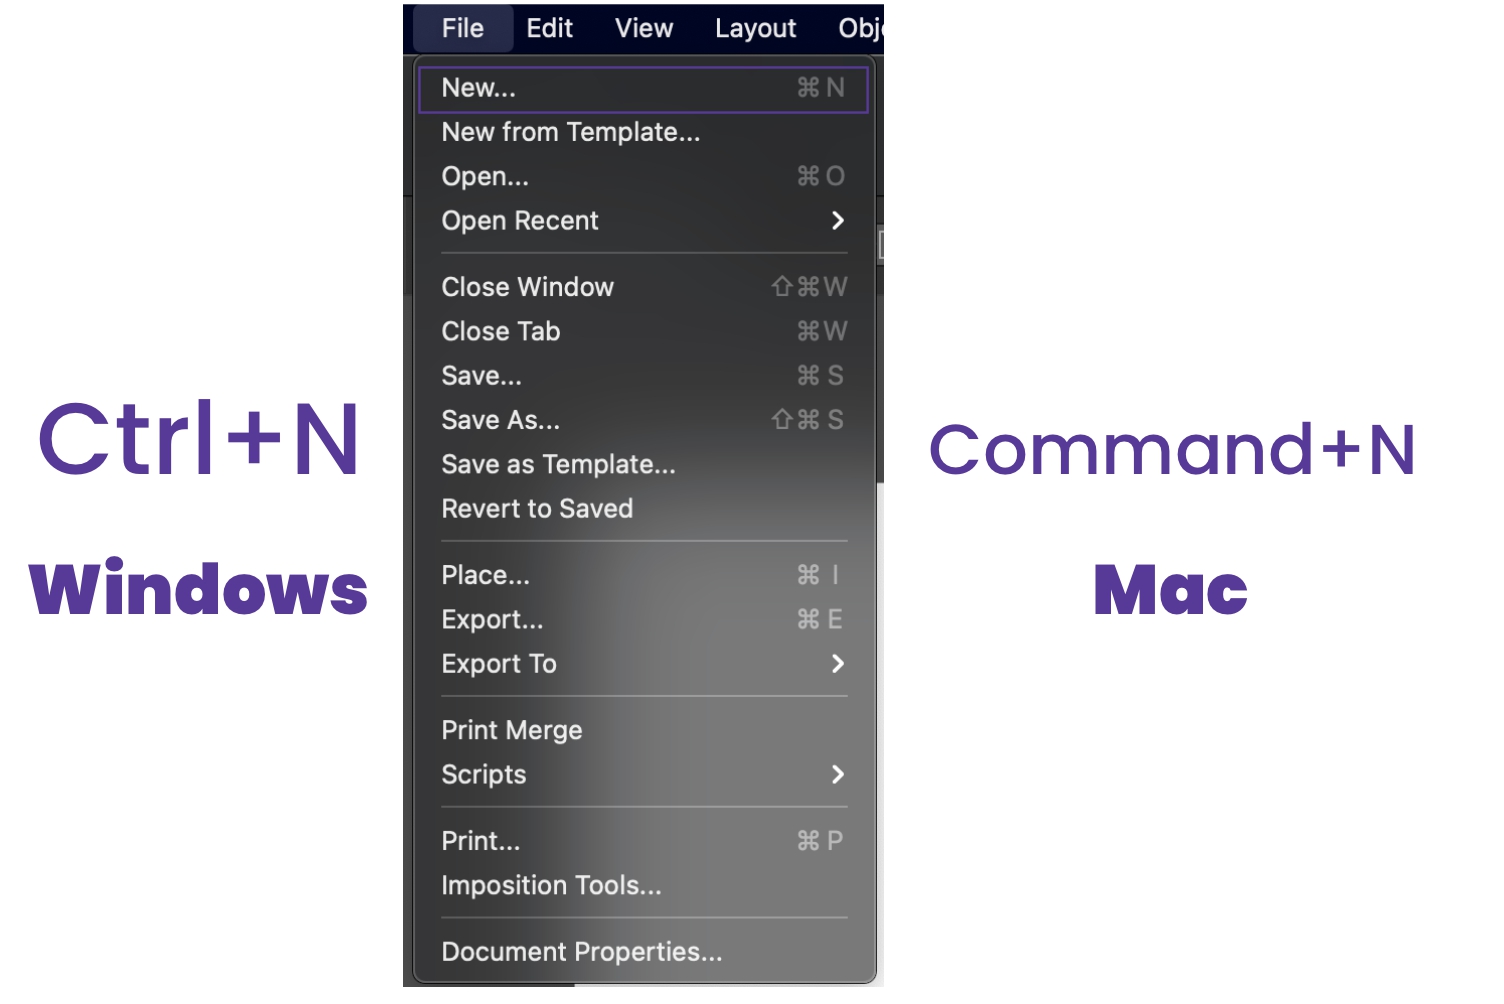
Table of Contents
1. Open CorelDRAW and create a new document.
CorelDRAW lets you start with a blank workspace. You can create new documents by clicking on the File menu and selecting New from the dropdown menu.”
you may like : How Much Should You Charge For A Simple Flyer?
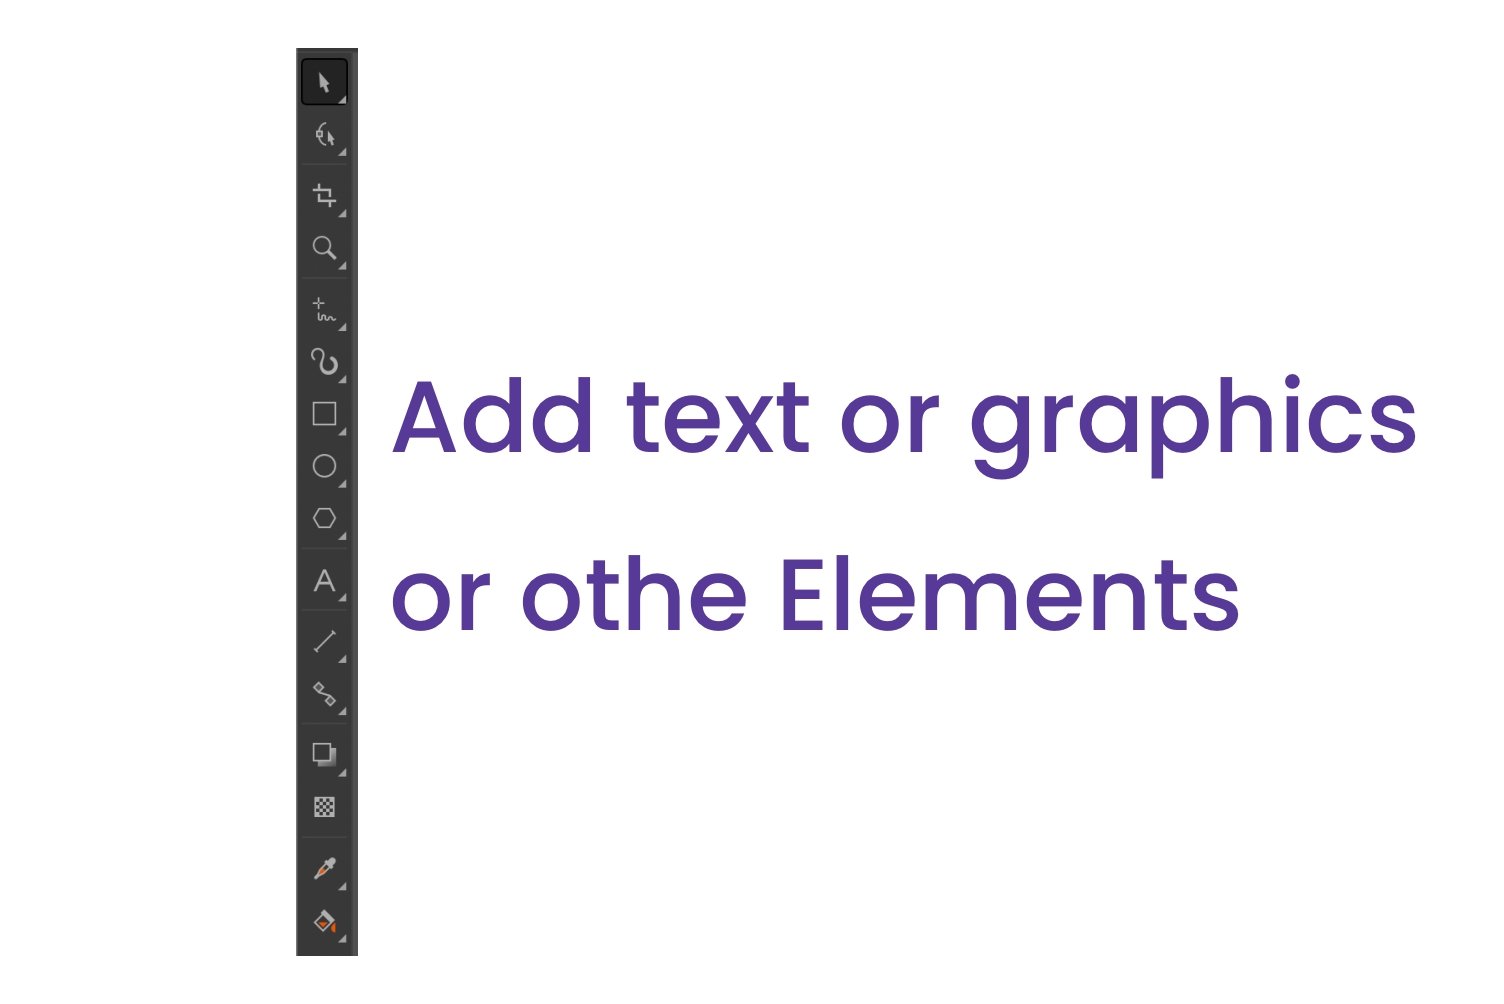
2. Add text, graphics, and other elements to the flyer.
Now that you have a new document open, it’s time to add text and graphics. You can do this by clicking on the Insert menu option at the bottom left corner of your screen (or right-click if using laptops) before selecting what type or element from the dropdown list that appears below it: images; shapes like circles/squares etc.; other items such as tables for layouts likely needs three rows wide but only two cols–depends on how complicated they want things!
If you want to add text to your flyer, you can do this by clicking on the Text tool in the Toolbox and then clicking on the workspace. A text box will appear, and you can start typing your message. You can also format the text by changing the font, size, color, etc.
you may like : How To Design A Flyer On Mac: Tips And Tricks
3. Format the text and graphics to make them look professional.
Next, you’ll need to format your text and graphics to look professional. Select ” Format Text ” from the File menu (found at the top right of the screen).” Then choose what font style or size best suits each element- be it headings for significant sections within an article; body copy about specific products being offered by business owners online today using social media platforms such as Facebook ads because this is where most people spend their time reading content instead of scrolling through Twitter feeds which only shows us part.
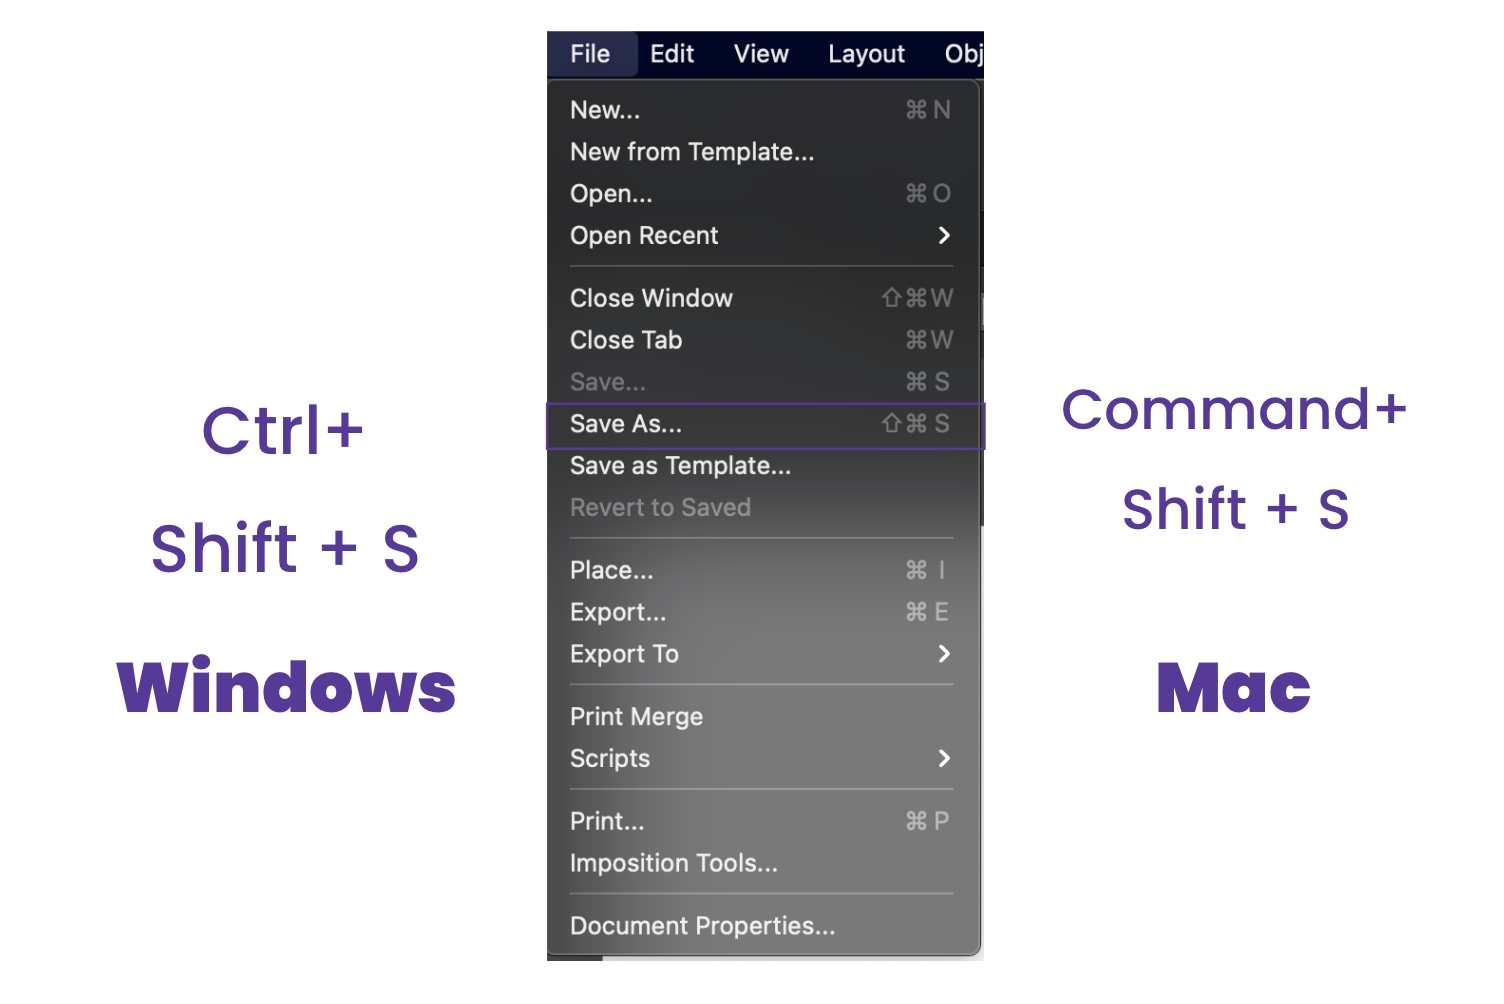
4. Save the flyer as a PDF file.
When you are finished designing your flyer, make sure to save it as a PDF file. This can be done by clicking on the File menu and selecting Save As from within the dropdown menu that appears upon selection of this option; then choose where in a particular folder or subfolder (if applicable) – give the newly created document whatever name is most convenient for recognizing its contents among other similar documents with the same title but different extensions such .docx).
5. Print out the flyer and distribute it to potential customers!
The final step is to print your flyer and distribute it. You can do this by clicking on the File menu, then selecting Print from within the dropdown menu; here, you have several different printers available and their settings which must be chosen before pressing “print” for them all to start printing!
Following these steps, you can easily design a professional-looking flyer on CorelDRAW. So get started today and promote your business or event in style! Thanks for reading. 🙂